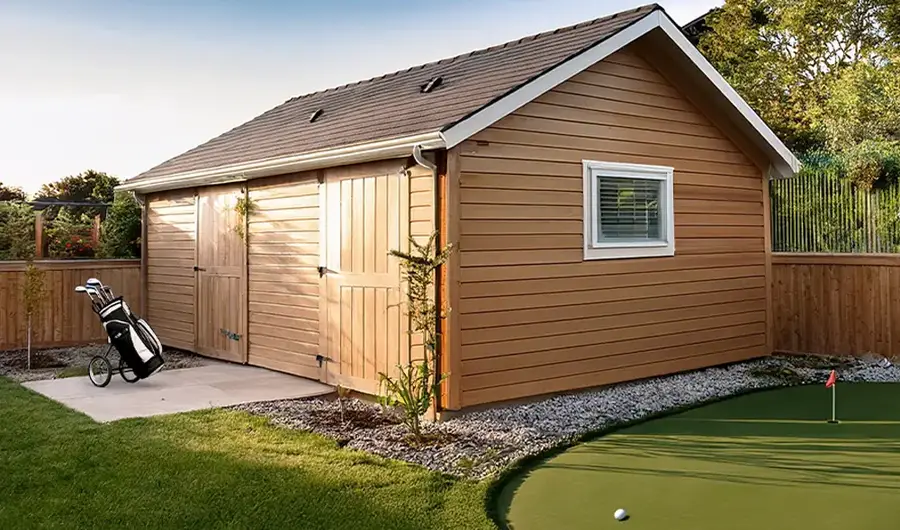
You’re considering adding a golf simulator to your home and have come up with the idea of placing it in your shed.
Maybe you don’t have enough space in your house. Maybe you’ve already got a nice shed with the perfect spot for one. Maybe you want a bit more privacy – a place to get away without disturbing others in your household. Or maybe you just think it would be awesome (we agree).
Whether you just dreamt up the idea last night, or you’re pretty far downfield – we at Assembled Golf are here to tell you what you need to know to craft your dream golf simulator getaway in your own backyard.
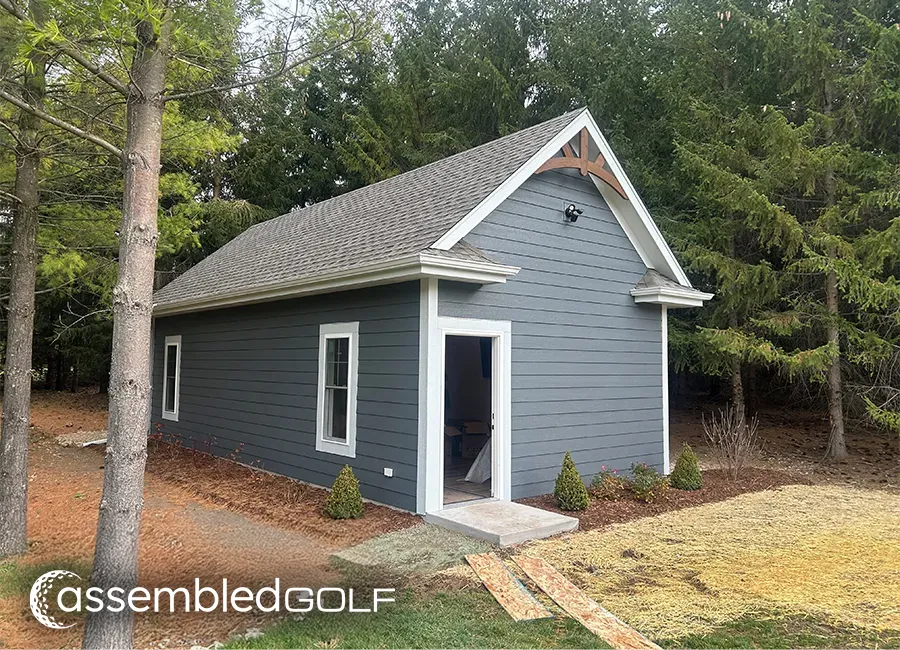
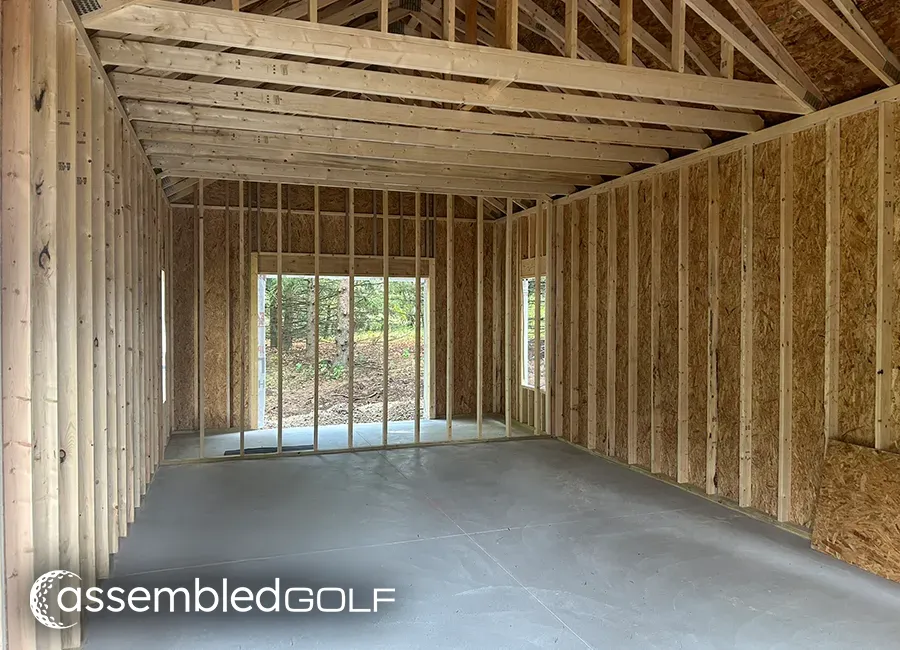
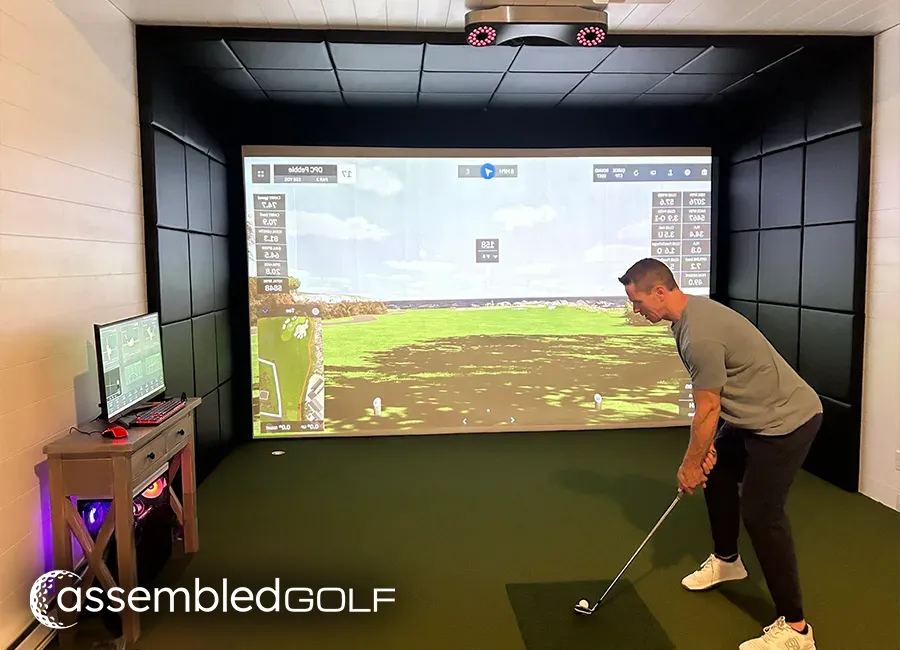
Here’s a recent project that we did:
We take the guesswork out of your golf sim setup, and handle everything from procurement to the finishing touches after installation. To get the best setup and get golfing as fast as possible, give us a shout.
Otherwise, keep reading. We’re about to tell you everything you’ll need to know about crafting your golf simulator shed.
Golf Simulator Shed Options
Pre-Fabricated Sheds
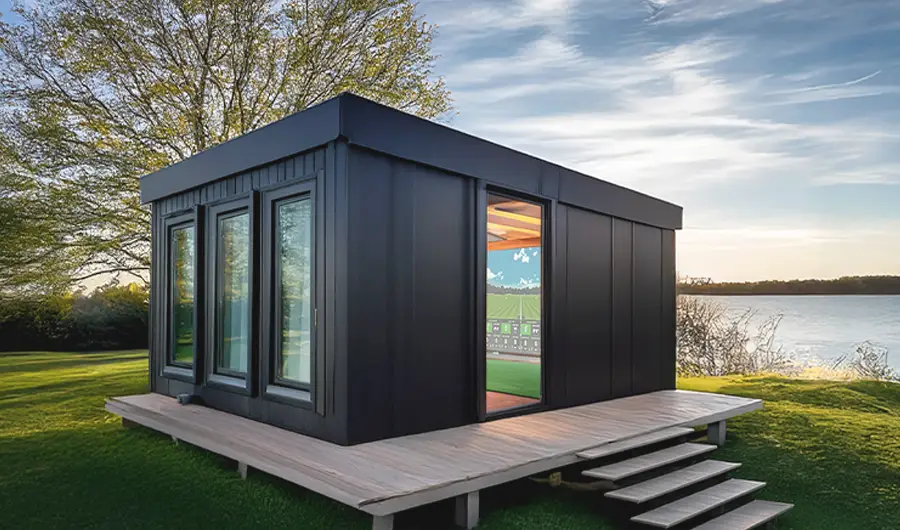
There are a handful of companies that sell pre-fabricated sheds, specifically designed to house your golf simulator.
Offered in an array of sizes and with different features, their modular nature makes them simple to build.
Catered exclusively for housing your golf simulator, it comes complete with prefabbed parts, assembly instructions, and customer support. However, you’ll typically still need to assemble the shed, source the tech gear, and assemble the golf simulator by yourself.
This option gives you the perfect blend of style, functionality, and ease of setup. It’s a great route for those with a sizable budget and a bit of a knack for assembly and golf sim tech.
Converted Existing Sheds
If you have a storage or garden shed in your yard already, it can serve as an ideal location for your home golf simulator. Consider reorganizing your tools and equipment, and removing any unused items to create space for a simulator setup along one of the walls.
For those seeking a more dedicated space, your entire garden shed could be transformed into a golf simulator area. You can also consider investing in upgrades such as new flooring and insulation to enhance the golf experience.
Custom-Built Sheds
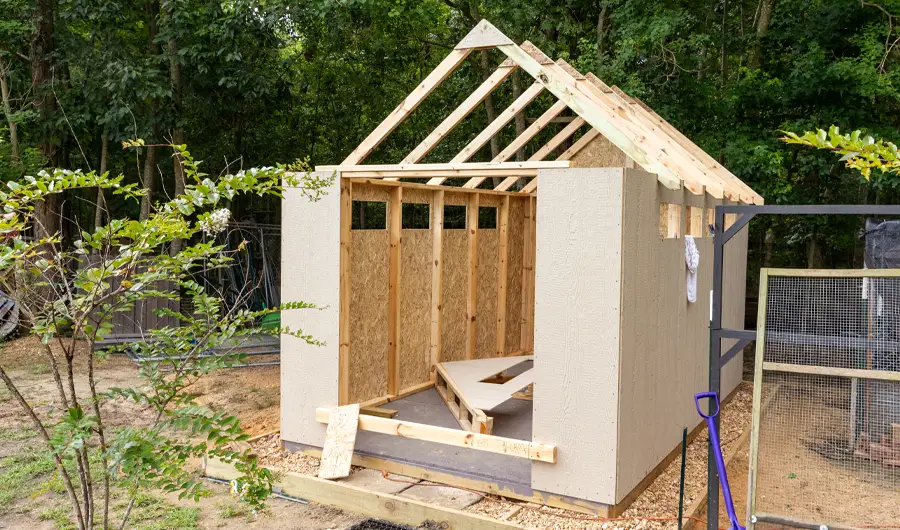
With a custom-built backyard golf simulator shed, the sky’s the limit. Both in terms of function and budget. You could build a super small, simple shed designed exclusively for golf. You could build a giant man cave with a bar, home theater, billiards etc.
Or you could buy / build a standard shed, and dual-purpose it. 1/2 for something like storage or a home gym, and the other half for golf.
This option gives you the most flexibility, but will also be the most work. You’ll have to handle not just the shed, but the golf simulator all by yourself too. If you’re going this route, you’ll want to make careful consideration of the design, spacing, and sizing (the next section tells you the space you’ll need).
Space Requirements for Your Golf Simulator Shed
How much space do you need and how high does the ceiling need to be?
These are the questions everyone wants to know, but the answer will vary depending on who you ask.
According to Carl’s Place,
“For the most ideal golf simulator room size, we recommend at least 14 feet of width by 18 feet of depth, with ceilings that reach 9-10 feet high.”
Carl’s Place – How to Choose the Best Golf Simulator Enclosure Size
Carl’s Place also offers this handy resource for determining how much space you’ll need.
On this Reddit post, someone asks about fitting a golf simulator in a 12′ x 11′ room with 9′ ceilings, and the community answers that such a setup might work in some cases. However, their general consensus is that you should have at least 10′ of ceiling height and 18′ of depth. They don’t mention a specific width, but say 12′ might be pretty tight for some players.
On another Reddit post, a user dives into the width requirements in more detail:
“If you want both LH/RH without any adjustment you’ll need a minimum of about 15′ width. Anything less will likely require you to be offset (not hitting from center to give enough swing space) which will obviously mess with LH/RH.”
Reddit – r/Golfsimulator
That post also solidifies the consensus that a 10′ ceiling is a great height to have.
Who’s right? It depends on who you ask.
Here is our take on the matter (we’ve installed hundreds of simulators, and specialize in making do with the given space constraints):
“We have experience installing simulators in spaces as compact as 8′ in width, 8′ in depth, and 8’6″ ceilings, always tailoring the design to meet the specific needs and goals of our clients. For instance, a width of 8′ might require an off-center hitting area designed exclusively for right-handed players. Some clients prioritize a personal practice setup, and we ensure that every detail is carefully considered through in-depth discussions to deliver a solution that aligns with their vision and expectations.”
Trey Greene – Founder & CEO of Assembled Golf
The Bottom Line on Space Requirements:
For your golf simulator shed, we recommend minimum dimensions of 9′ x 9′ x 9′ (LxWxH), and ideal dimensions of 18′ x 14′ x 10′.
*LxWxH:
- *L – Length (depth)
- *W – Width (space from left to right)
- *H – Height (of ceiling)
At the end of the day, the space you’ll need depends on how serious of a golfer you are, and how bad you want a golf simulator.
Golf Simulator Design & Application Ideas
You’ve got lots of options with your golf simulator shed. Here are some ideas to get the creative juices flowing.
1. The Small Sim Shed
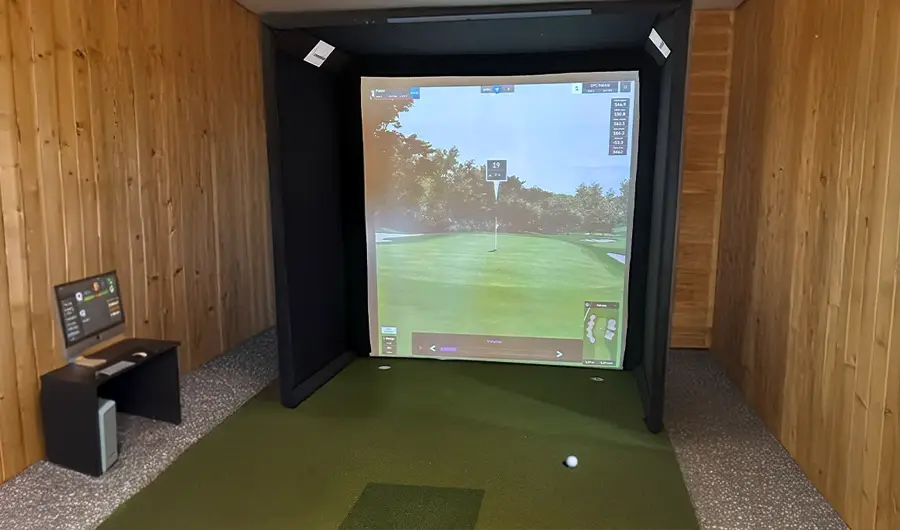
Remember, you can build a simulator with an enclosure as little as 8′ x 8′ x 8’6″ (LxWxH).
This example is about that size – It’s carefully designed to take advantage of every square inch, and just big enough to get some serious playing in.
2. The Multi-Purpose Sim Shed
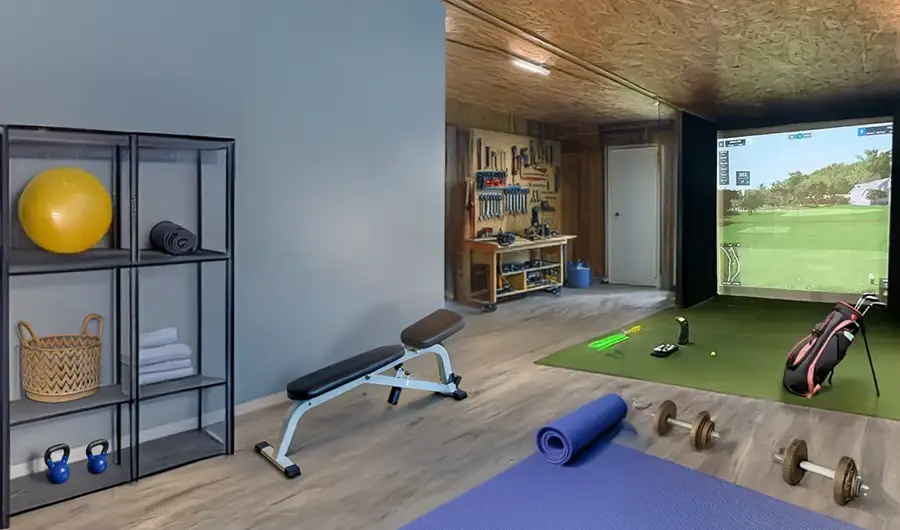
This rendering shows a multi-purpose golf simulator shed concept, functioning as a space to play golf, work out, and still do normal shed stuff (tools, workbench, etc).
Additional ideas for dual-purposing your sim shed include storage, a home office, and a home studio.
3. The Upscale Sim Shed
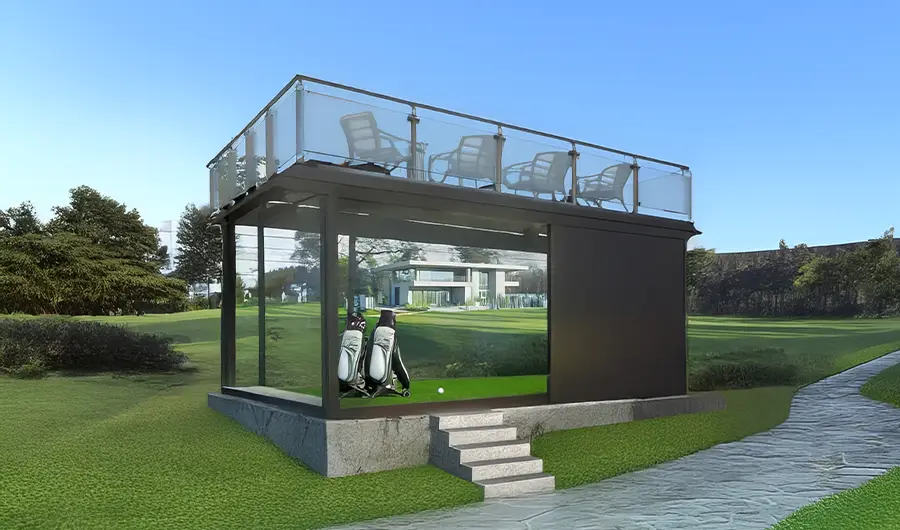
Pictured above is a concept of a modular golf simulator shed kit. It features sleek, modern design that incorporates nicely into its environment with large openings in the walls. It even has a rooftop for an added touch of luxury.
4. The Home Theater Sim Shed
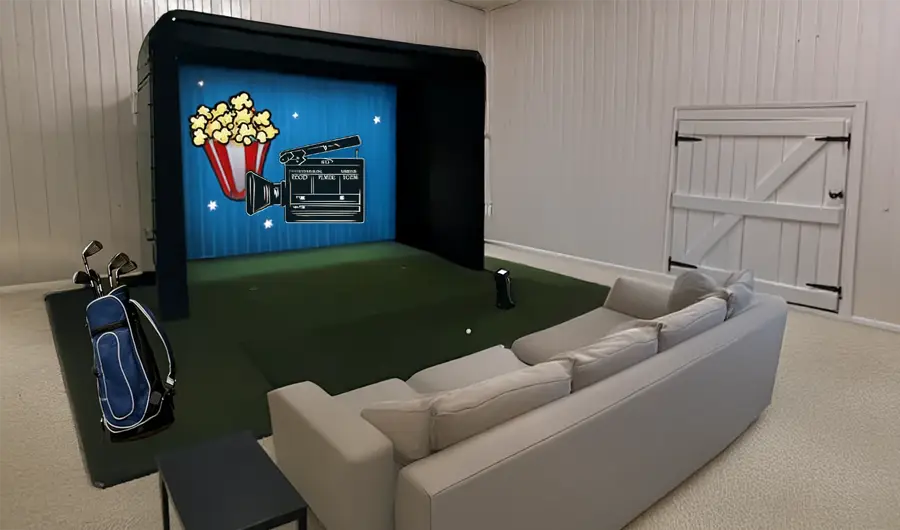
You can play whatever media that you want on your sim’s projection display. Why not take advantage of it? Add comfortable seating and end tables that can be used both for golf and family-friendly viewing experiences.
5. The Ultimate Man Cave Sim Shed
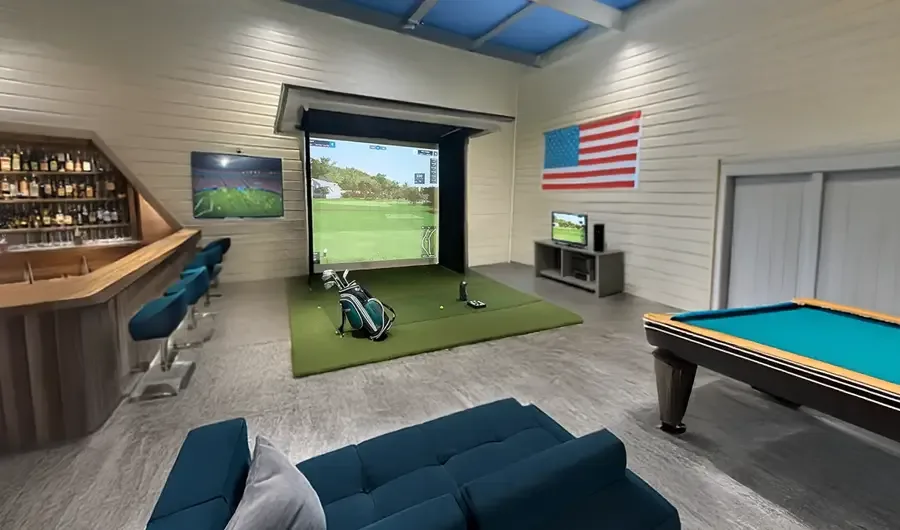
This example shows a large shed designed for recreation. Additional games, comfortable seating, a bar area, and a TV for the big game. While not everyone has the resources for an expansive shed, those who do can create a truly elaborate setup.
Building Your Golf Simulator Shed
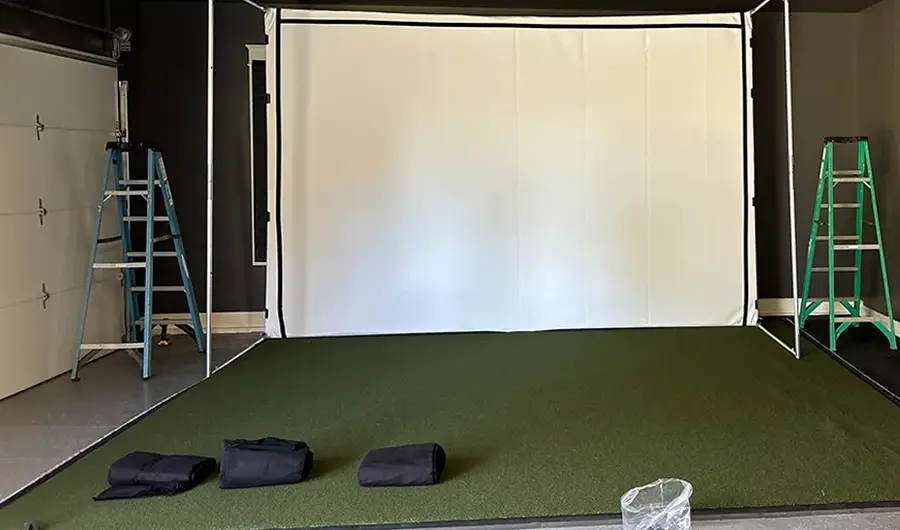
1. Make A Game Plan
Remember, when it comes to golf simulator sheds, you’ve got some options.
- First, determine your budget and goals. Do you want a full DIY with minimal budget? Do you have plenty of cash and a desire to create something elaborate?
- Then, figure out if you want to build a new shed, repurpose an existing one, or purchase a modular shed kit.
- Next, take careful note of the space you’ll need, and figure out how you’ll achieve it. You should also get an idea of the type of sim gear you’ll be buying, and check their suggestions on spacing, electrical, and other requirements.
- Last, create a parts list, line up the necessary help, and map it all out.
Now you’re ready to get to work.
2. Build Or Prep The Shed
If you’re building a new shed yourself, there are two key things keep in mind:
- Climate – The electrical components will do best in low-moisture, temperature-regulated environments. Depending on your environment, you may or may not need heating, insulation, air conditioning, etc.
- Permits – Believe it or not, you may need a permit to build your shed. The requirements will vary state to state and based on how big your shed will be. Click here to search your local ordinance for shed building requirements.
If you’re buying a modular golf simulator shed, then you’re in luck. The assembly will be pretty simple, and your seller will be able to help you out with detailed instructions and support.
If you’re clearing out an existing shed, then focus on dumping, donating, or selling some stuff to make space. Stack the stuff you can’t part with high and tight, or move it inside to make enough space.
3. Get The Gear
If you haven’t already, now it’s time to purchase the golf simulator gear.
Here are the basic components you’ll need:
- Impact Screen – A durable screen that displays the course or practice environment while withstanding the impact of golf balls.
- Projector – Displays the virtual golf environment on the screen. High-quality projectors ensure crisp visuals and immersive gameplay.
- Launch Monitor – Captures data such as ball speed, spin, launch angle, and club path. Some advanced models also track club metrics.
- Simulation Software – Provides the virtual golf course and practice environments, analyzing data and offering gameplay features.
- Turf & Hitting Mat – A realistic surface to simulate fairways, rough, or other course conditions, ensuring comfortable and consistent swings.
- Computer or Console – Runs the simulation software and connects to the launch monitor and projector.
- Enclosure or Frame – Surrounds the impact screen and hitting area, creating a dedicated space and protecting surrounding areas.
4. Assemble The Simulator
Now that you have the shed and the tech, it’s time to set your simulator up. Be sure to follow the manufacturer’s instructions carefully, and reach out to their support if you encounter any issues.
5. Tidy Up And Get Golfing
Now that the hard part’s done, it’s time to get your golf simulator shed show-ready. Put the finishing touches on it with decor, clearing out the debris, and tidying up the cables. Then you’re ready to play.
—
Golf Simulator Sheds – The Space-Efficient Solution For Lovers of The Game
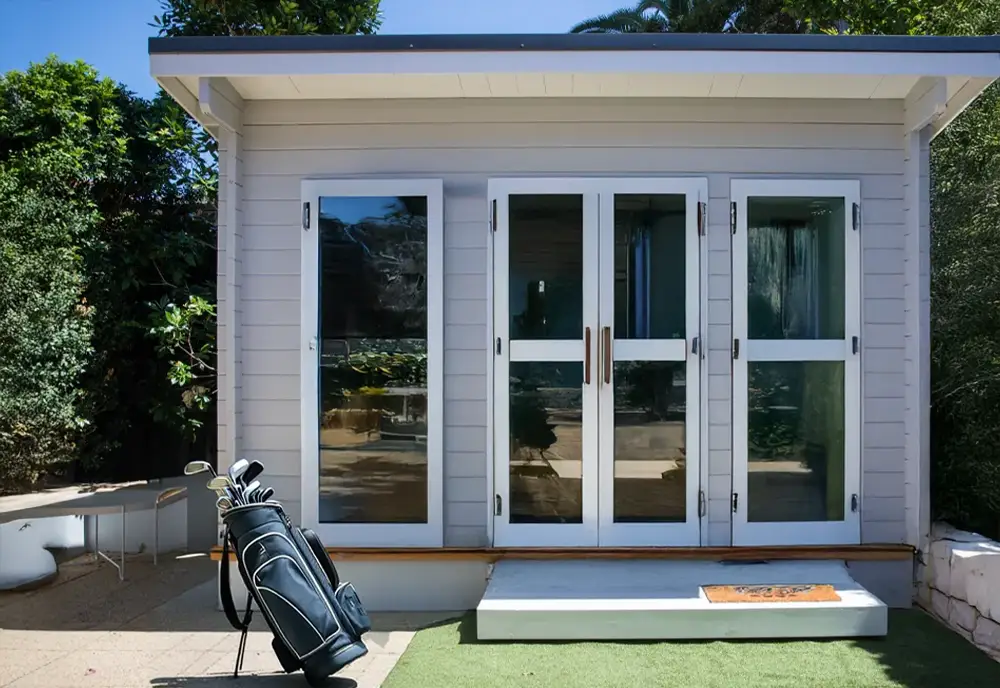
Putting a golf simulator inside of a new or existing outdoor shed is a great way to make the space for realistic golf experiences from the comfort & convenience of your backyard.
If you’re in the market for one, the first step is to dream up your idea, then iron out the budget and space requirements and use that to determine the products and services you select.
Pre-fabricated sheds pose the benefit of easy setup, sleek design, and golf-centric layouts. Converting an existing shed is the most practical solution, and building a new one gives you limitless options.
For the space, you’ll ideally want about 18′ of depth, 14′ of width, and a ceiling height of 10′. But you can get creative and make do with as little as 8′ x 8′ and a ceiling height of about 8’6″.
If you want to save time, and end up with a completed project better than you could have ever hoped for, you can give us a shot.
Here are some links to learn more about us:
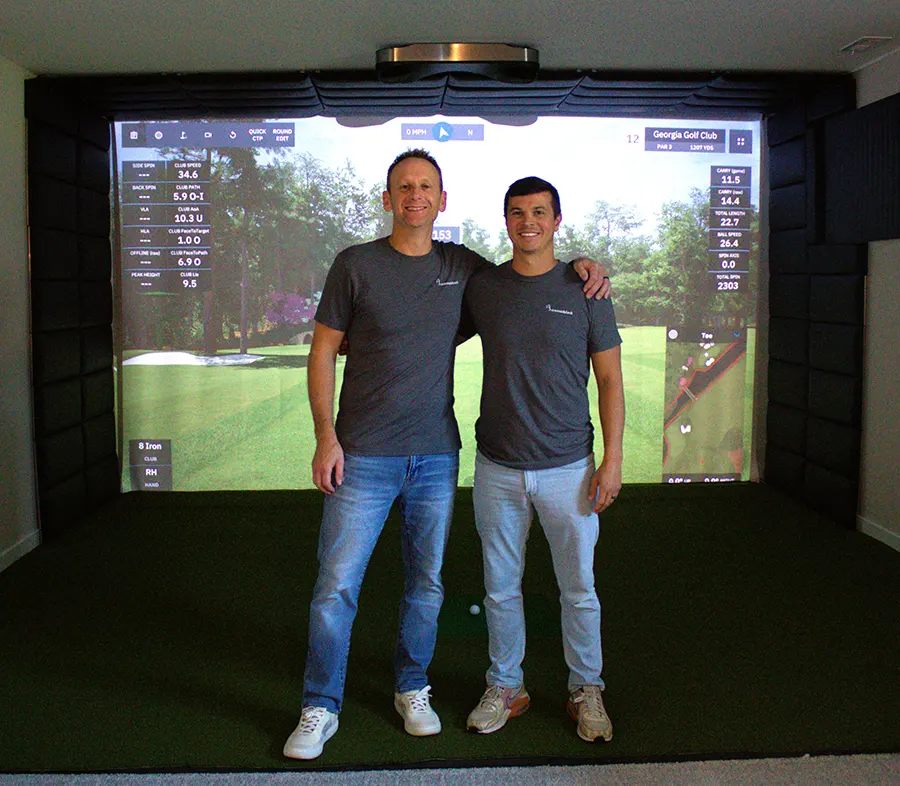
At our core is a shared enthusiasm for golf and a mission to enhance its accessibility by creating lifelike virtual experiences. We view golf as a lifestyle, and take pride in making it a part of daily life for our clients.

